 Previewing and Printing Your Final Project
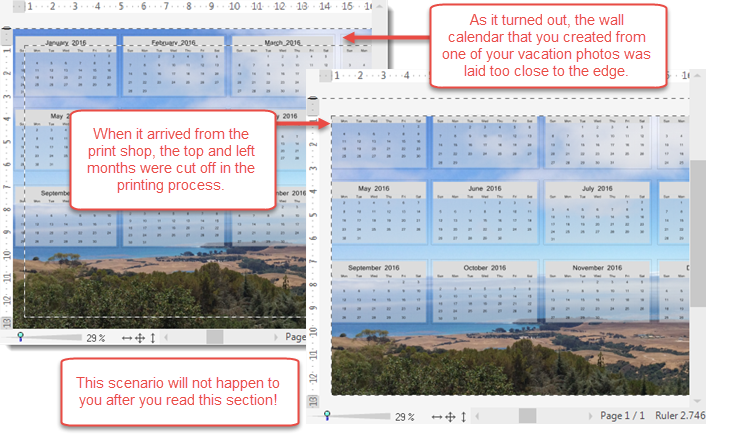
So you created the perfect project. You are proud. Your photos all have the right amount of composition, light and color, and some of them even have fun filters applied. You found the perfect art kit from the store and used every single paper and embellishment from it. Your cover looks professional. You can't believe what a great project this turned out to be. That is, until you get it back from the printer.
Compensating for Trimming and Bleed
As you design your album pages, keep in mind the printing and trimming process. Each page will be slightly trimmed during the printing and binding process. This is because of a concept called bleed. Bleed is the term in printing that means an image goes right to the edge of the paper when printed. In the scenario above, the calendar image had a bleed. The problem with bleeds is that most printers do not have the capability to print a page with a true bleed—colors running off the edge of the page. Therefore, white margins are left along the edges and are trimmed off to allow the colors to go right to the edge. When printers make this compensation for a bleed, inevitably part of the image gets lost in the trim.
Using the View Ribbon
Artisan equips you with a View ribbon which allows you to Preview your pages as they would look when printed to make sure no elements are cut off, and conversely, no white margins appear.

| Option | Description |
|---|---|

|
Displays the entire page in the workspace, including any elements that are outside the workspace page bounds. This is the default view when working on a project.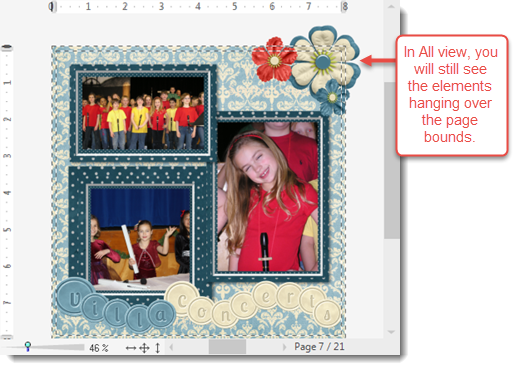 |

|
Displays the entire page in the workspace, including any elements that are outside the page printing or binding threshold. 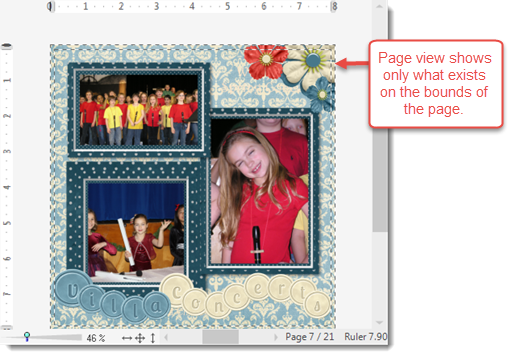 |

|
Shows the printed or printed and bound page. Use this view to determine if you have any elements that will get cut off in the finished project.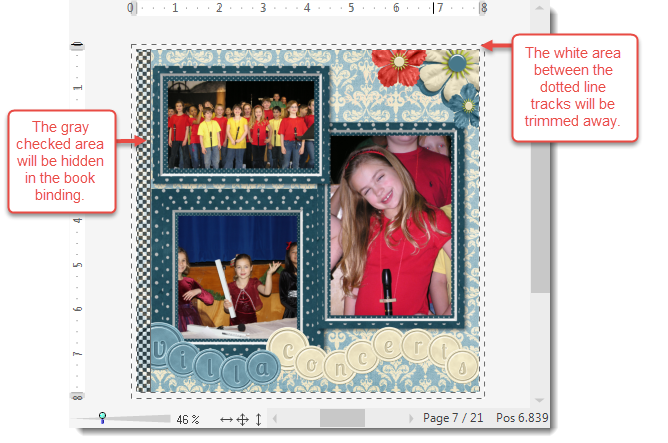 |

|
Shows facing page spreads with trims and book bindings. You can choose to see the facing pages bound together or spread apart.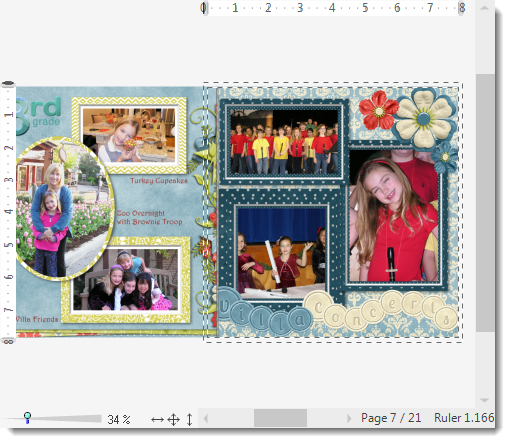 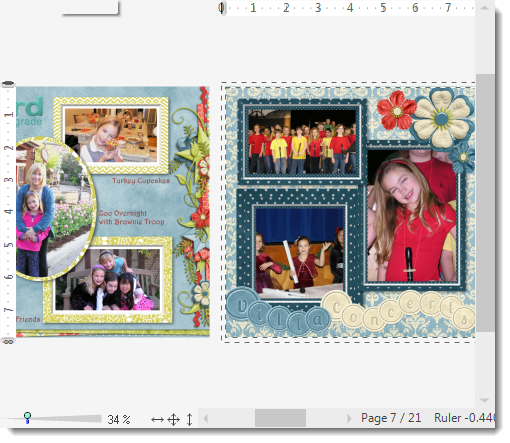 |

|
Shows the pages with standard binding as well as lay flat binding. Note that more of the facing edges are visible with the lay flat option.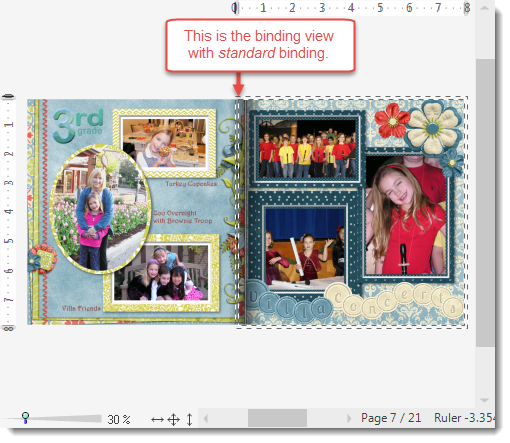 |

|
Allows you to view your page in 90-degree rotations.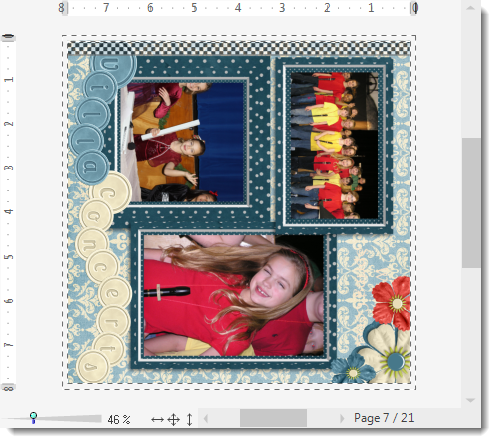 |
Note: The Trim view (with binding) is the most helpful of the views. This view will save you frustration, as it shows you just what to expect from the printer on every page.
Ordering Your Final Project
Once you have checked all your pages and made any necessary adjustments, it's finally time to print. You can print your pages manually (providing you have a working printer) or you can order them printed professionally. Of course, the advantage to professional printing is that generally the print is made on a high-quality commercial printer. Also, your photo books will be professionally bound.
How to Print a Page on Your Printer
- While viewing the page/project you want to print, click the File menu, then Print.
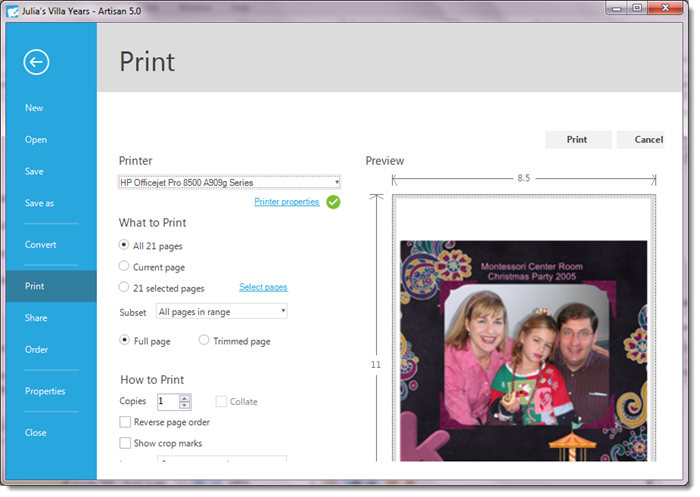
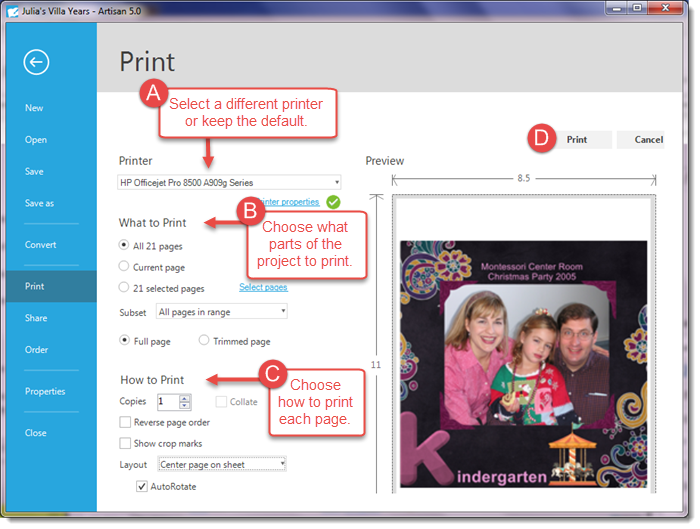
The Print window appears with options.
- Follow the instructions in the diagram below to complete your print job.

How to Order a Printed Project
- While viewing the page/project you want to print, click the File menu, then Order.
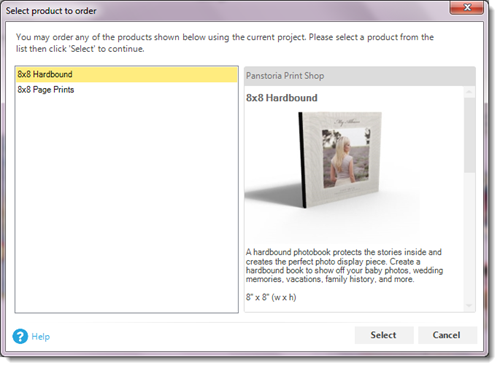
The Order window appears with options, based on your project type.
- Select the desired print order option and click Select.
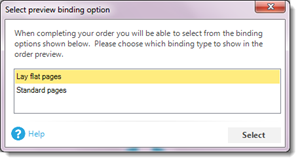
If printing a book, the binding options dialog box appears.
- Select your binding preference, and click Select.
The Order Preview window appears with a status on generating your preview.
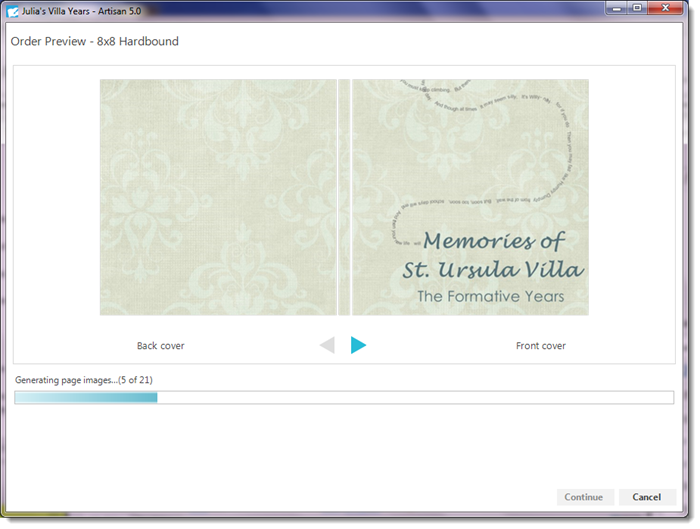
Note: This process may take a few minutes, depending on your project size and Internet speed.
Note: Once the preview is finished generating, it may reveal potential errors at the bottom of the window.
You can click on each line to jump to the page containing the error, and choose to correct or ignore.
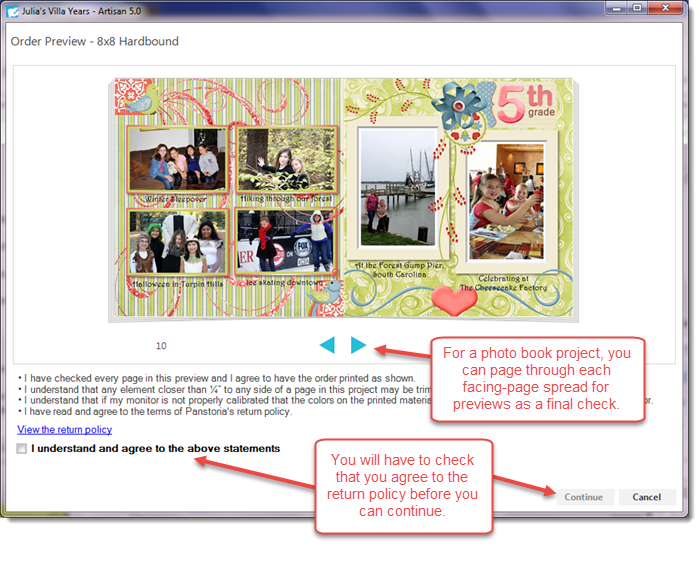
- Once the preview is finished, you can page through your project for a final check.

- If all looks good, click to check the return policy statement, then click Continue.

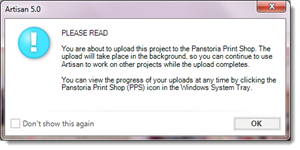
- Click OK to upload your project to the Forever Print Shop.
The Forever Print Shop login window appears.
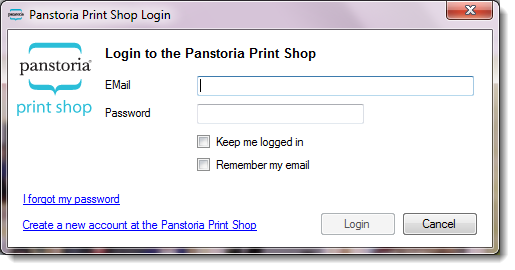
Note: Follow the prompts to either log into the shop with your existing account, or create a new one. You will then be prompted through the payment process.